CREATING ACTION ITEM:
- Step 1: Tap on action item from the bottom menu to view Action Item Kanban Board.

- Step 2: Now tap on “+” floating button to open Action Item modal. In this modal you can see different options, like
- Enter title here – you can add the title of the action item here.
- Description – here you can write a description of the action item.
- Note & Action item – here you can select either NOTES or Action item.
- Due Date – You can select the due date of this action item, for NOTES you do not need due date.
- Attachments – you can add any file (photos/videos) regarding action item.

- Note: while you are creating notes, it will not be visible on the action item board.

the notes are visible on the Action Item list page.
Action Item Status:
- TODO: It means the work assigning by the assigner to assignee which is totally assignee’s responsibility.
- IN-PROGRESS: here it means the work assigned by an assigner to the assignee is in process or presently going on.
- IN-REVIEW: it means the assigned work is done and it is in the review process.
- DONE: You can find out this step from the name itself, it means the work is done.

- Step 3: So now if the assignee wants to start the work, he/she can simply drag the action item and put it under IN PROGRESS bucket.

- Step 3: Now same like the previous step, Once the assigned work is done, the assignee can drag the action item from IN PROGRESS to IN REVIEW.

- Step 4: And lastly when all work and review is done the Admin can drag that Action item to DONE and admin and assignee will get an award.

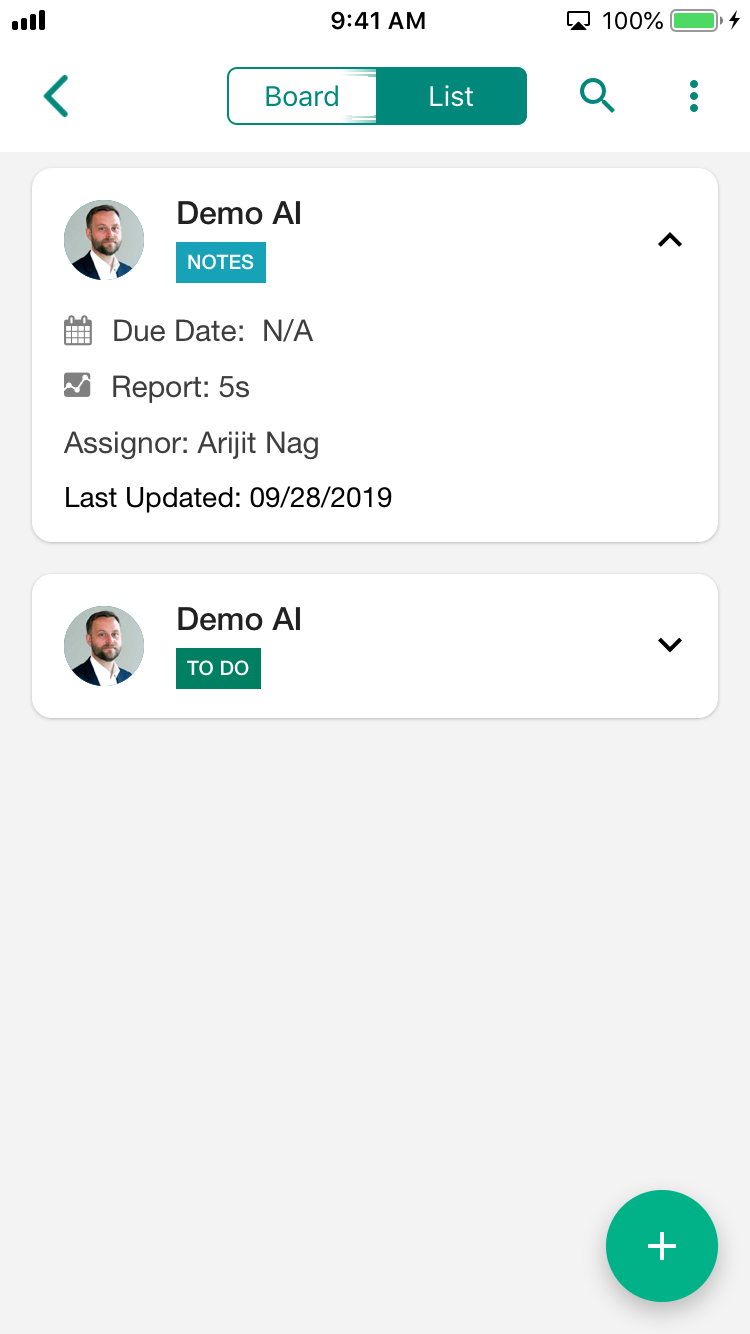
- Step 5: To see action item/notes list, just tap on “List”. Here you can have all action items and notes.

Leave A Comment?