CREATING REPORT :
- STEP 1 : tap on the “Reports” from bottom menu, you will now visit a “Report List Page” (under reports)
- STEP 2 : In the “Report List Page” you will get one filter icon on the top right navigation, by tapping on this icon, where you will get options like, FILTER,PROJECTS,DEPARTMENTS, USERS & All, open completed, archived, and on the right side corner you can see one “+” floating icon, by tapping there you can create a new report.

- STEP 3 : After that tap on the “+” and a selection report list will open. Now select “Pareto chart” from the entire list, Then you can give a TITLE name (For eg. I have given a Title called “Trial”), now you can also select a “PROJECT NAME” which is the third button. Then finally tap on the “CREATE” button to create this report

- STEP 4 : On this Pareto chart dashboard, where you can see on the top right all options.

- STEP 5 : To add your collaborator under this report, you can tap on the second option on the top right option which is “COLLABORATORS”, From there you can add as well as remove collaborators.
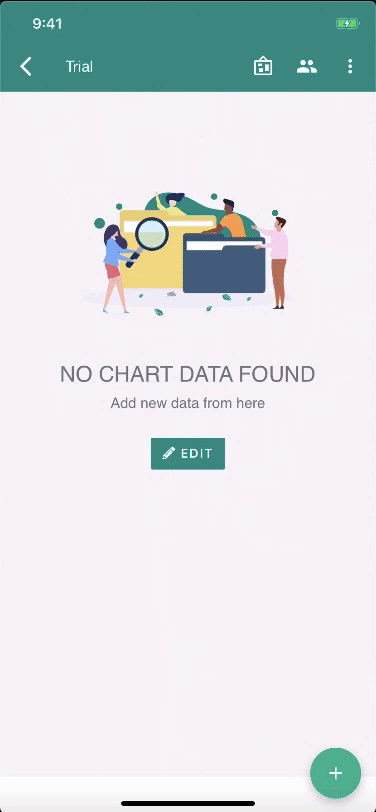
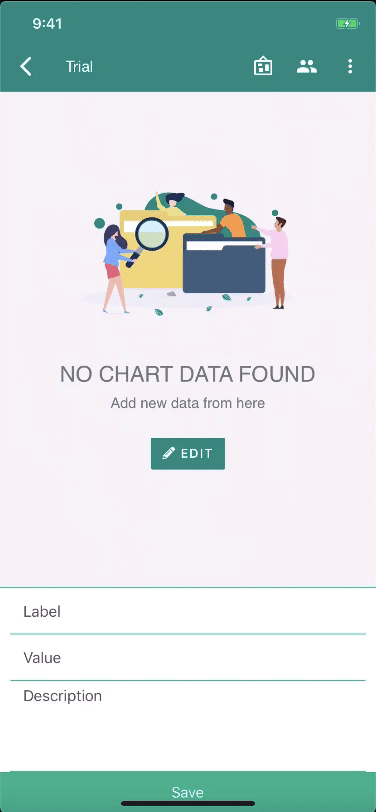
- STEP 6: After opening the PARETO CHART page you can see “NO CHART DATA FOUND” below that you can see two options “EDIT” and “+”(means add new).
- STEP 7: Then you can tap on the “+” button to add a new chart. One new data table will open below, where you can see input fields like “LABEL”, “VALUE”, “DESCRIPTION”
- STEP 8:Now in the next step you can add “LABEL”, “VALUE”, “DESCRIPTION” (For eg. I have given Label as RFC, Value 50, Description as “working fine”)
- STEP 9:After entering all the relevant data you can save it, so one new page will open, where you can see the graphical representation of the data. The chart will generate according to the data you will provide.

- STEP 10: So you can also edit the data from the below edit option, you can edit axis names here, then you can SAVE it

- STEP 11: Now you can see one option EXPORT IMAGE, from where you can export the image of this total graphical representation.
CREATE ACTION ITEM
- STEP 12: Now in this step you can create an Action Item by tapping on ACTION ITEM/NOTE Option under Action item

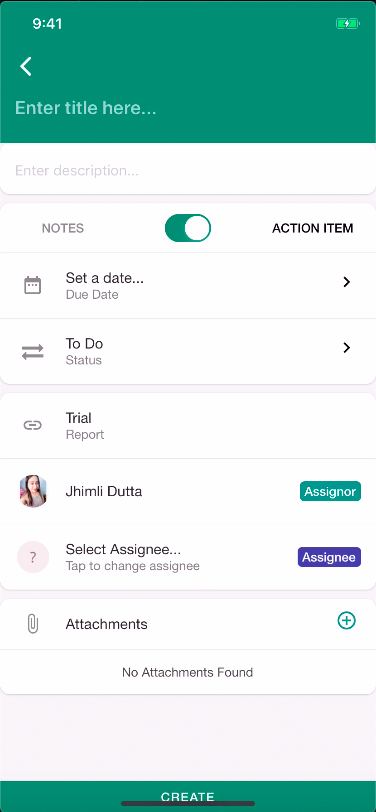
- STEP 13: now after tapping on ACTION ITEM list icon one new Action Item list page will open, where you can create new action item by tapping on the “+” floating icon on the bottom right.

- STEP 14: Now when you tapped on the “+” floating icon, one new modal will open where you can see multiple options.
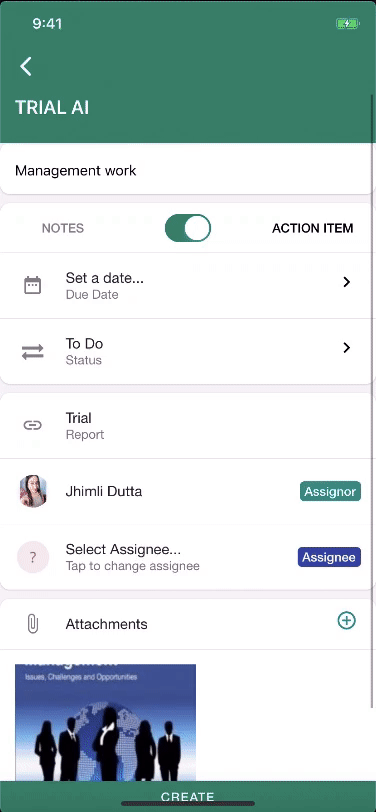
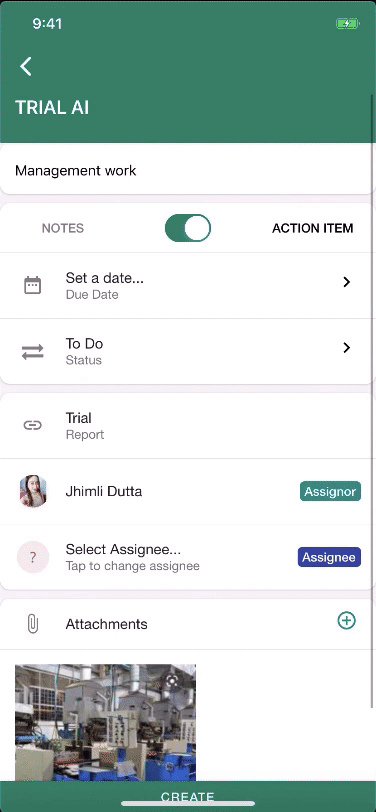
- STEP 15: Now here you can Enter title, Enter description and add attachments (photos or videos) , for eg. here I am entering title as “TRIAL AI”, Description as “Management work”, and adding one attachment.
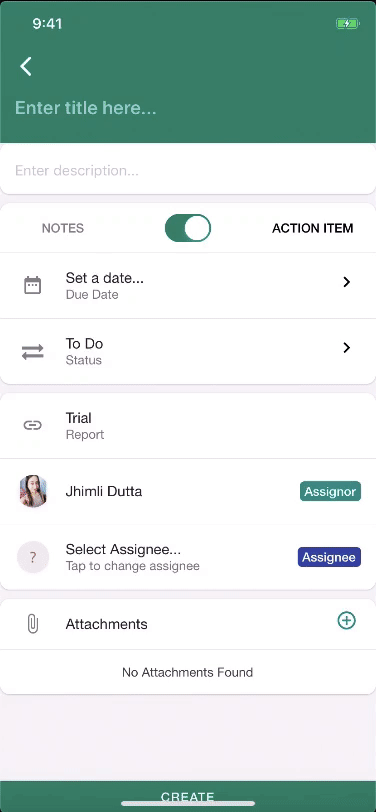
- STEP 16: while you are creating notes, it will not be visible on the action item board. Here you can select report, select assignee and create the notes
- STEP 17:at the time of creating the action item, you can set a due date, you can add action item status ( there are three action item status TO DO, IN PROGRESS, IN REVIEW and DONE), Select report, add assignee and then tap on CREATE.
- STEP 18: now after creating the action item you can go to action item option from top right navigation there you can see the existing action item which you have created.

COMPLETE THE REPORT :
- STEP 19: And finally to complete the report you can go to the upper right navigation and select “MARK THIS REPORT AS COMPLETE” from action to complete this report and you will get an award for the report.

Leave A Comment?