CREATING REPORT :
- STEP 1 : Click on the “Reports” from the left navigation menu, you will now visit a “Report List Page” (under reports)

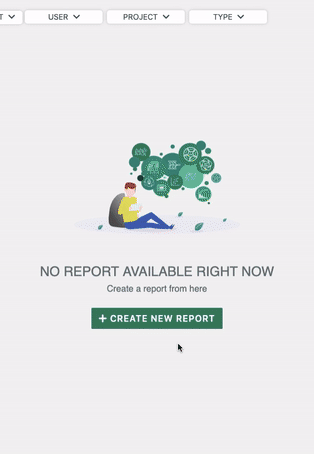
- STEP 2 : In the “Report List Page” you will get some options on the top for eg. Department, User, Project, Type and Search bar. When you are creating the report for the first time, you will get “ CREATE NEW REPORT” button on the middle. If the report list is not empty then the “CREATE”button will be at the top right of the page

- STEP 3 : After that click on this “CREATE” button and a modal will open. From this “CREATE” Modal select your report “Leadership” from the dropdown list, Then you can give a TITLE name (For eg. I have given a Title called “TRIAL”), now you can also select a “PROJECT NAME” this is the optional field. Then finally click on the “CREATE” button to create this report
- STEP 4 : Inside Leadership you can see two options “ACTION & ACTIVITY” in the upper right navigation

ADD COLLABORATORS :
- STEP 7 : Then you can go to COLLABORATOR option under ACTION to add collaborators, so here you can add collaborators from “ORGANIZATION USERS”
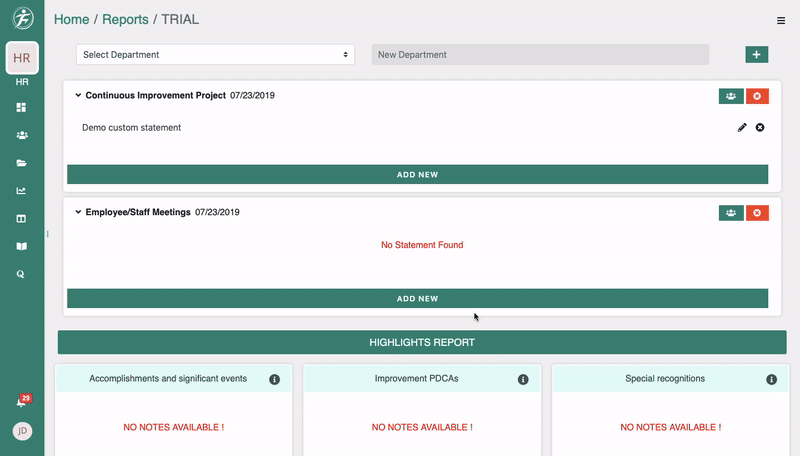
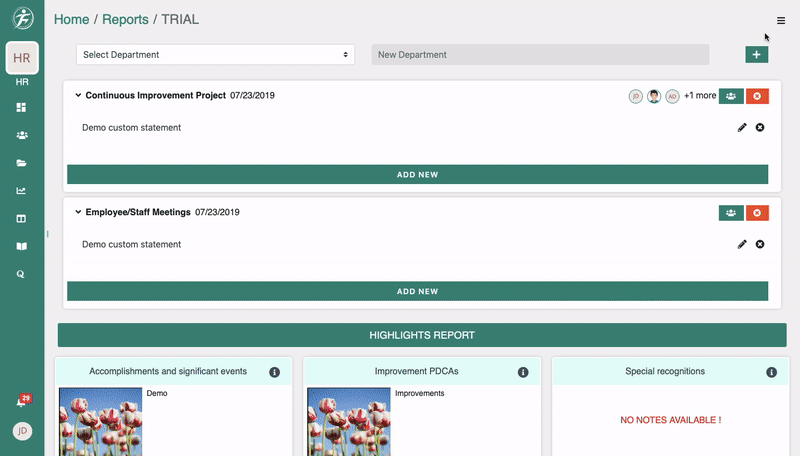
ADD DEPARTMENT :
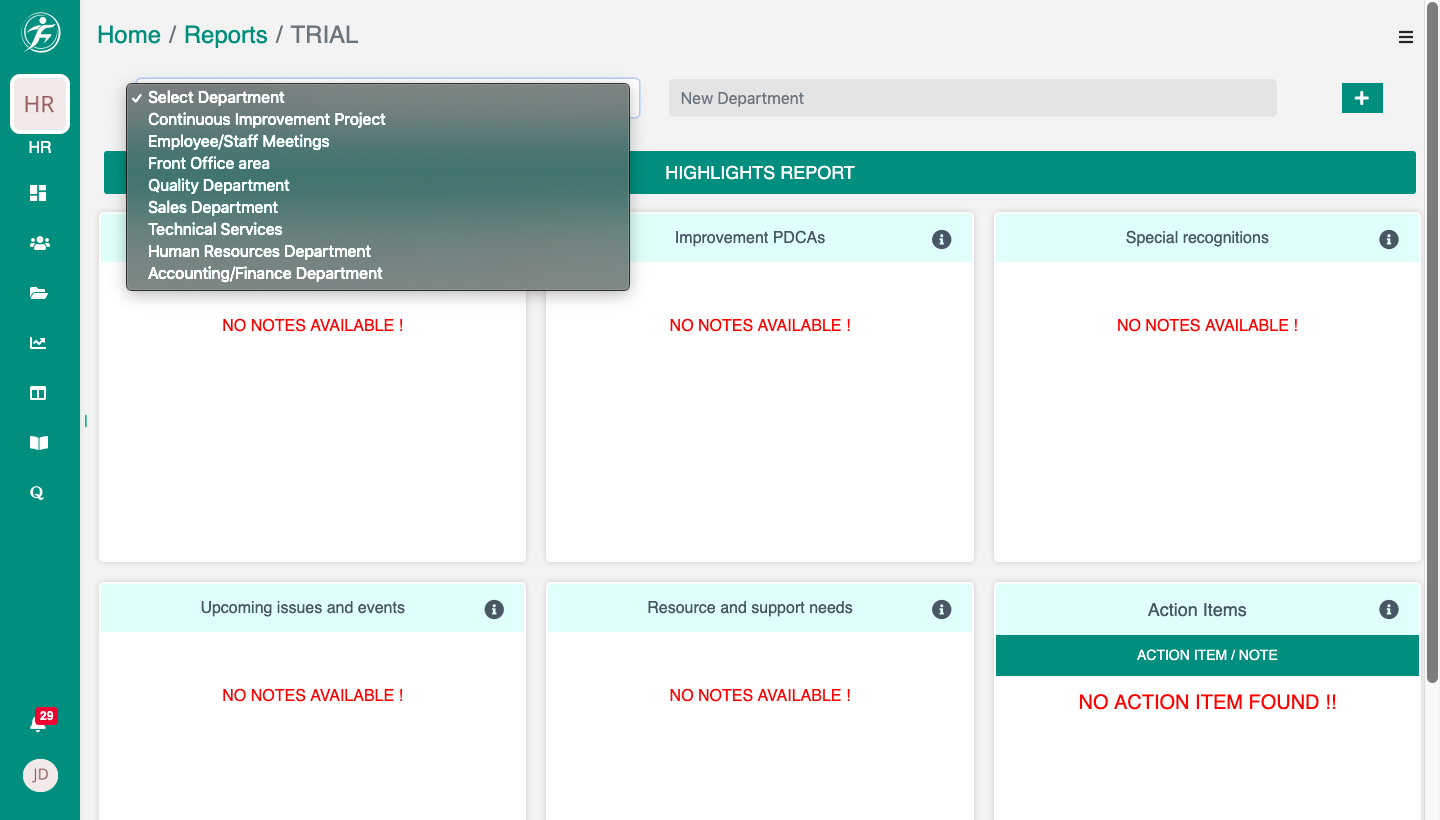
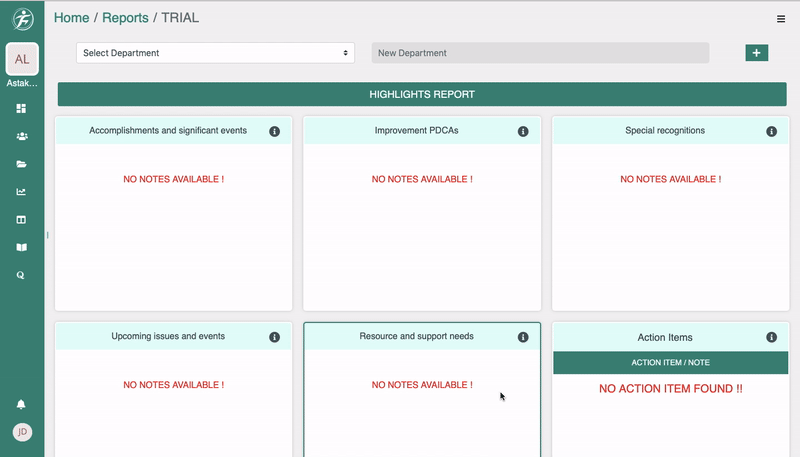
- STEP 8 : Now you can see SELECT DEPARTMENT and another one is NEW DEPARTMENT, From SELECT DEPARTMENT you can select default departments from the dropdown and in NEW DEPARTMENT you can add your custom departments.
- STEP 9 : For example I am adding two departments here i.e CONTINUOUS IMPROVEMENT PROJECT and EMPLOYEE/STAFF MEETINGS. So you can see two new window opened under these options, there you can see one option called ADD NEW, click on ADD NEW to open modal where no DEFAULT STATEMENT is there only you can add CUSTOM STATEMENT, For eg. here under “Continuous Improvement Project” I have added a custom statement called DEMO CUSTOM STATEMENT then Added the default.
- STEP 10 : Same as CONTINUOUS IMPROVEMENT PROJECT I am adding custom defaults to the second category which is EMPLOYEE/STAFF MEETINGS.
- STEP 11 : So now you can see all the custom defaults on your screen.
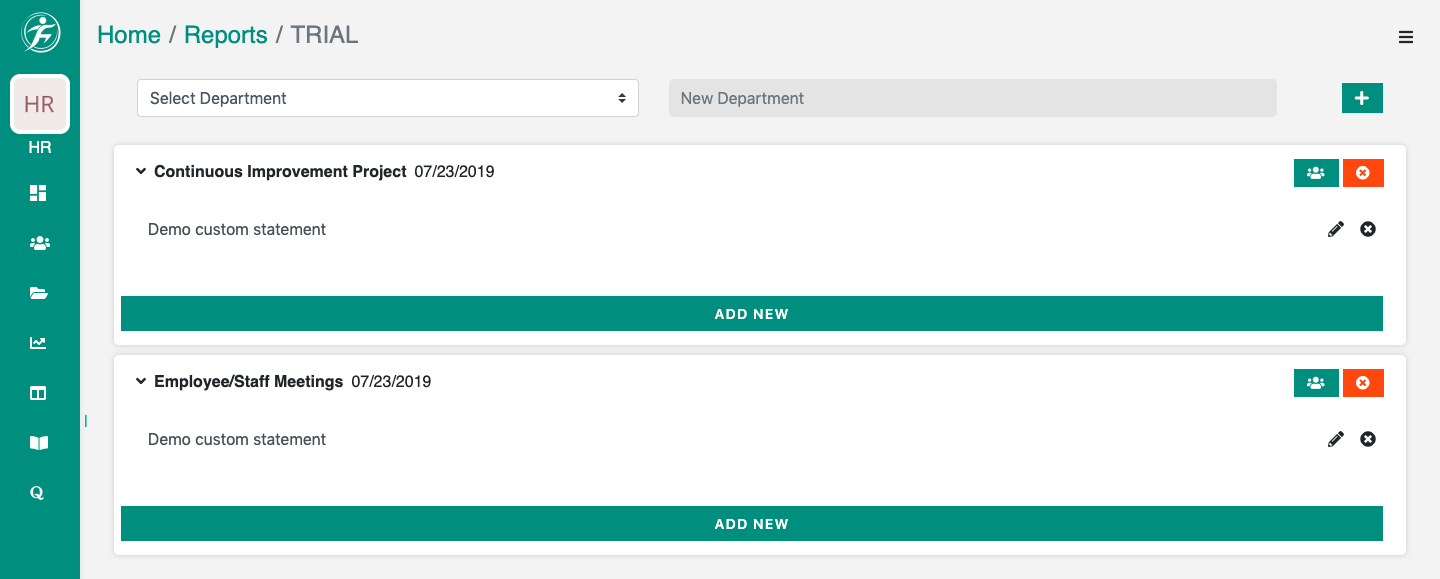
- STEP 12 : Now for both selected department CONTINUOUS IMPROVEMENT PROJECT and EMPLOYEE/STAFF MEETINGS you can see one user logo on the right. Click on the user logo one modal will open, from there you can select from the first option which you can select only from the existing collaborators, on the second option where you can see ENTER USER NAMES ( Seperated with “,”) there you can mention the username which will be seperated with “,”.
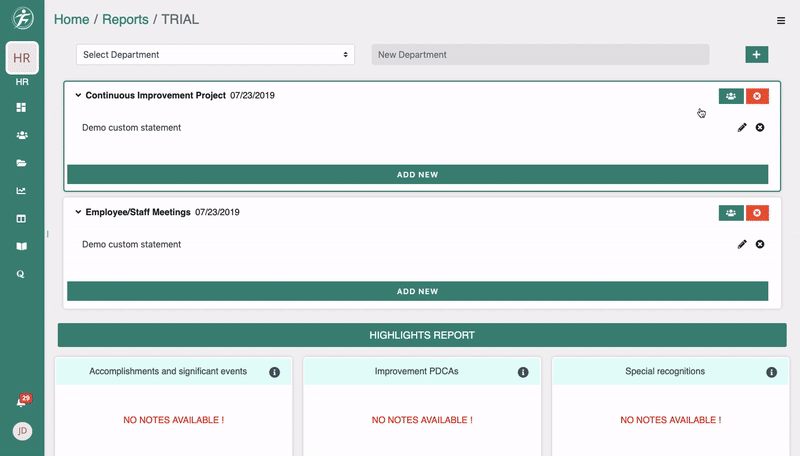
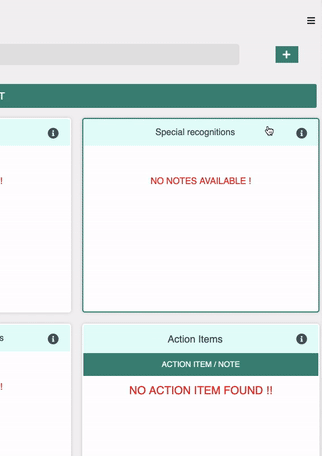
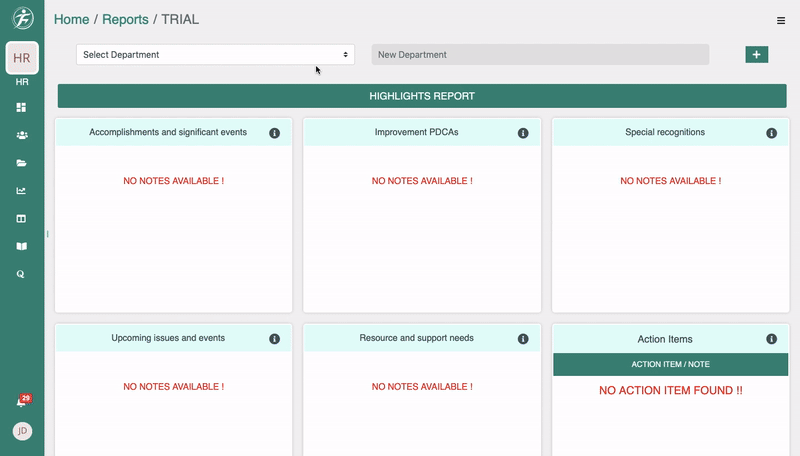
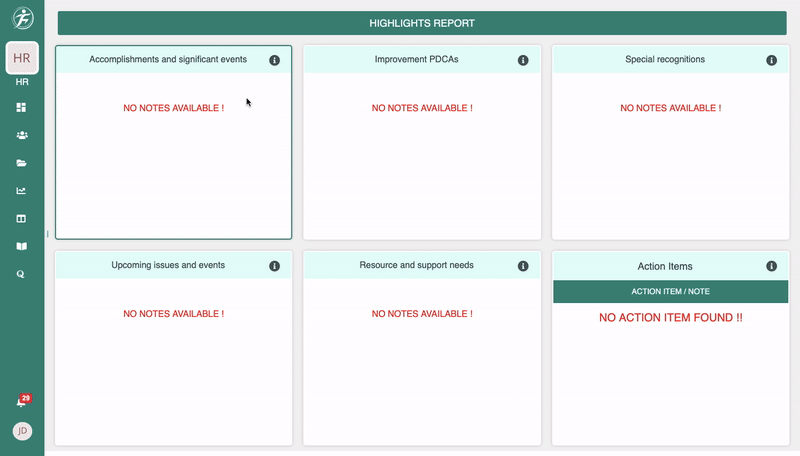
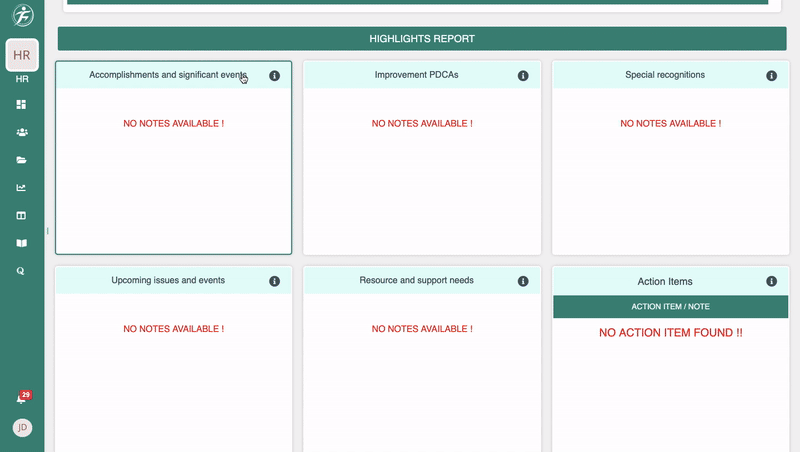
- STEP 13 : now you can come down to the page you will get some HIGHLIGHTS REPORT for e.g you can see six grids over there (ACCOMPLISHMENT & SIGNIFICANT EVENTS, Improvement PDCAs, SPECIAL RECOGNITION, UPCOMING ISSUES AND EVENTS, RESOURCE & SUPPORT NEEDS and ACTION ITEMS
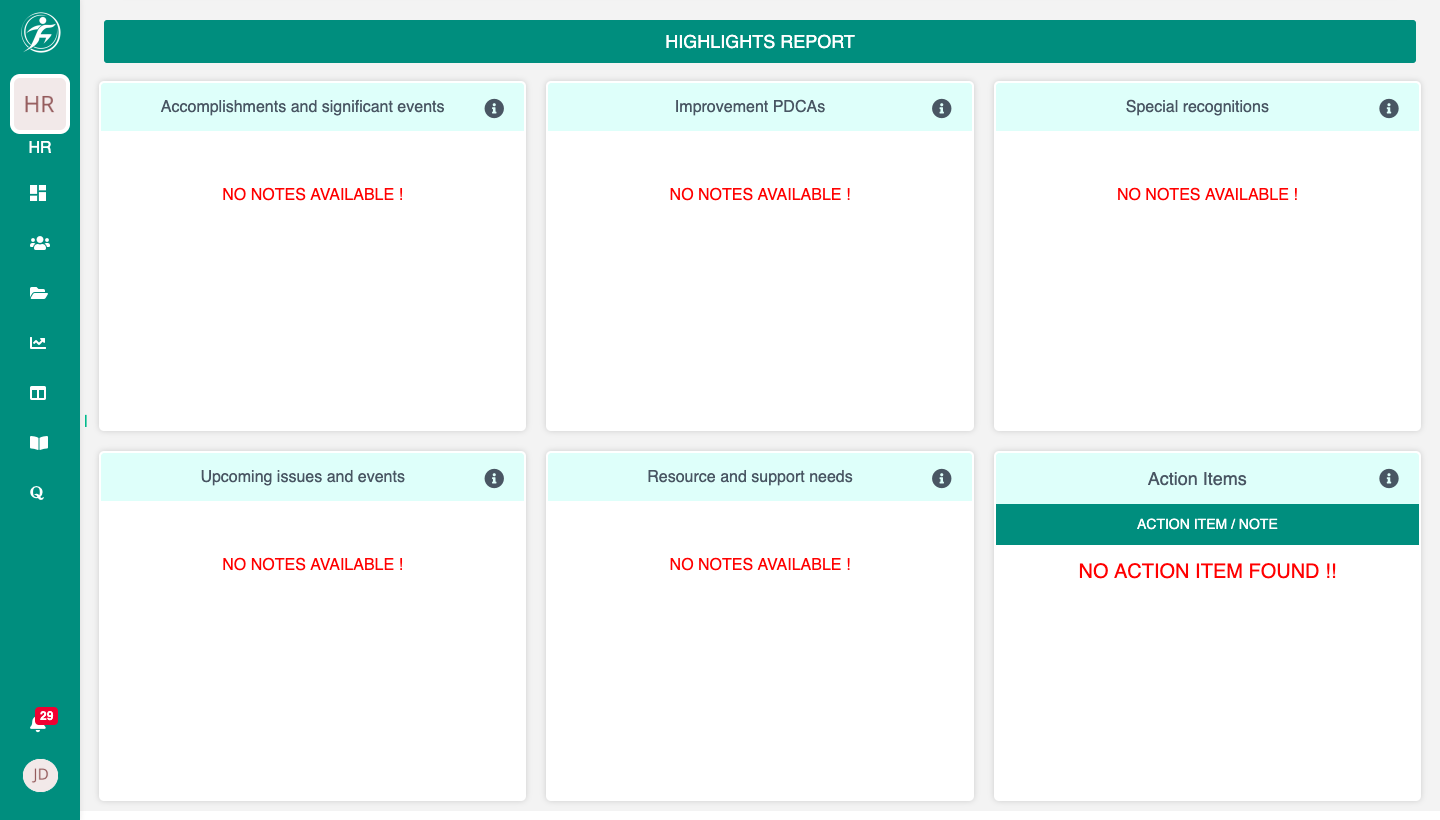
- STEP 14 : Now you can see the first option ACCOMPLISHMENTS & SIGNIFICANT EVENTS beside that you can see one info logo, when you are clicking on that info logo you will get an idea about it. For each and every highlights you will get the info.
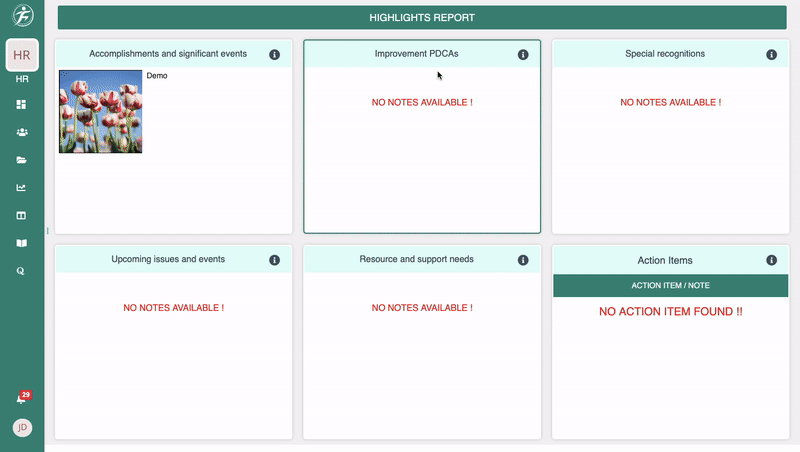
- STEP 15 : Now you can click on accomplishment and significant events, then one modal will open where you can ADD NOTE and UPLOAD IMAGE, then SAVE it
- STEP 16 : like accomplishment and significant events you can click on Improvement PDCA then ADD NOTE and UPLOAD IMAGE and then SAVE it
Once you are inside the Leadership report, where you can click on right navigation you can see two options “ACTION” & “ACTIVITY”. Under ACTION you can have options like “Export PDF” from here you can download PDF version of this report, “Edit this report” by clicking on this option you can change your report title name and change your project if needed, , “create action item/note” from here you can create an action item, “Mark this report as complete” you can select this option when your report is complete, “Archive this report” by clicking on this option you can archive this report and “collaborators”. And under ACTIVITY you can find all the activities going under this report.

CREATE ACTION ITEMS :
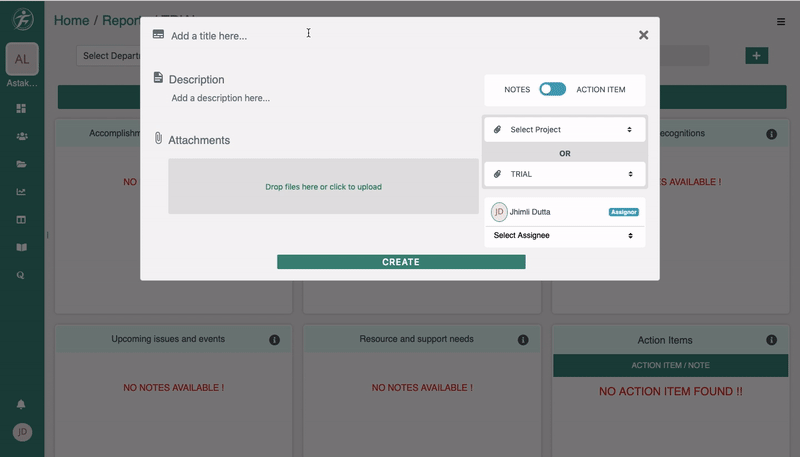
- STEP 1 : Now in this step you can create an Action Item by clicking on ACTION ITEM/NOTE Option under Action item
- STEP 2 : after clicking on the ACTION ITEM/ITEM button you can see your Action item modal, In this modal you can see different options, like
- “Add a title here” – you can add the title of the action item here.
- Description – here you can write description about action item.
- Attachments – you can add any file (photos/videos) regarding action item
- Due Date – You can select the due date of this action item, for NOTES you do not need due date
- Note & Action item – here you can select either NOTES or Action item
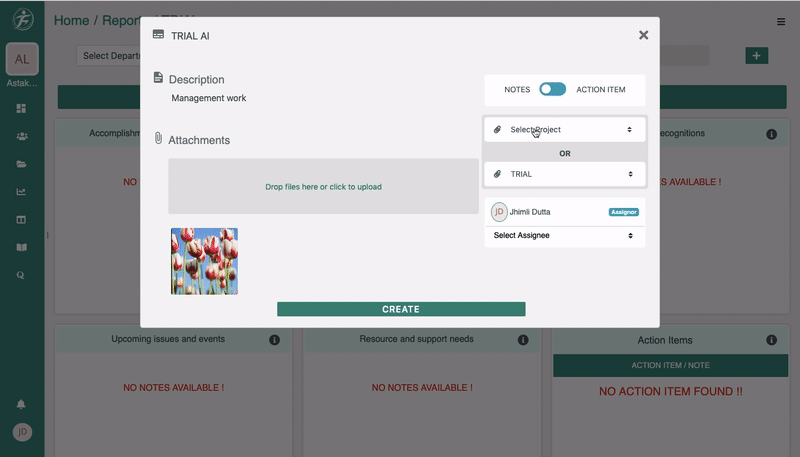
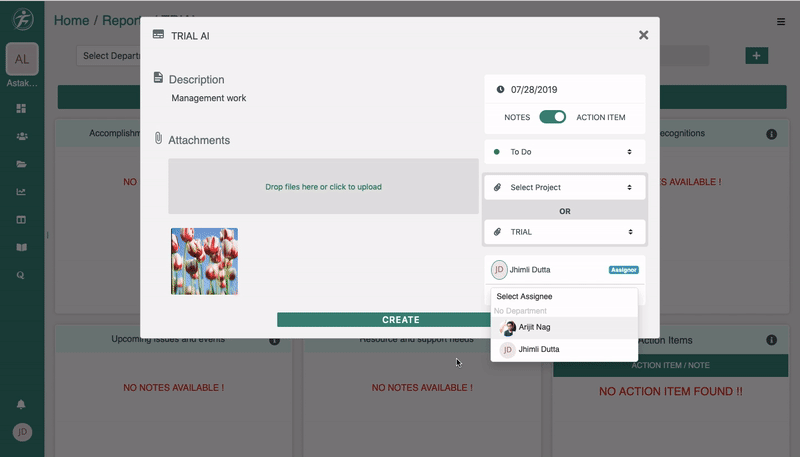
- STEP 3 : Now for example if you are selecting NOTES, you will have two options one is SELECT PROJECT and the second one is SELECT REPORT. But here either one of them you can select, for eg. I have selected report “TRIAL” here so I cannot select PROJECT. You can also select assignee for this particular note from the dropdown.
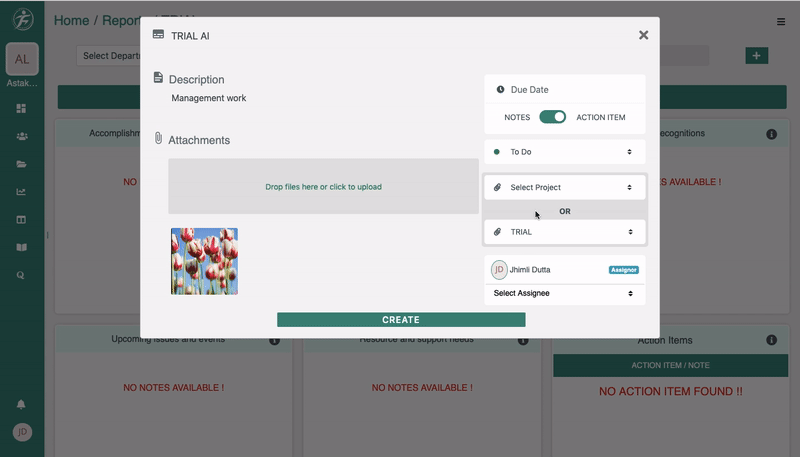
- STEP 4: Secondly if you are going to select ACTION ITEM option, you can add DUE DATE for action item, then you can select action item options like “TO DO”, “IN PROGRESS”, “IN REVIEW”, DONE”. After selecting there action items you can select either project or report just like before, and at last you can select assignee. And then click on “CREATE” button.
- STEP 5 : Now after creating the ACTION ITEM it will be saved, then you can see the existing ACTION ITEM below the ACTION ITEM option.
COMPLETE THE REPORT :
And finally to complete the report you can go to upper right navigation and select “MARK THIS REPORT AS COMPLETE” from action to complete this report and you will get an awards for this report.
Leave A Comment?